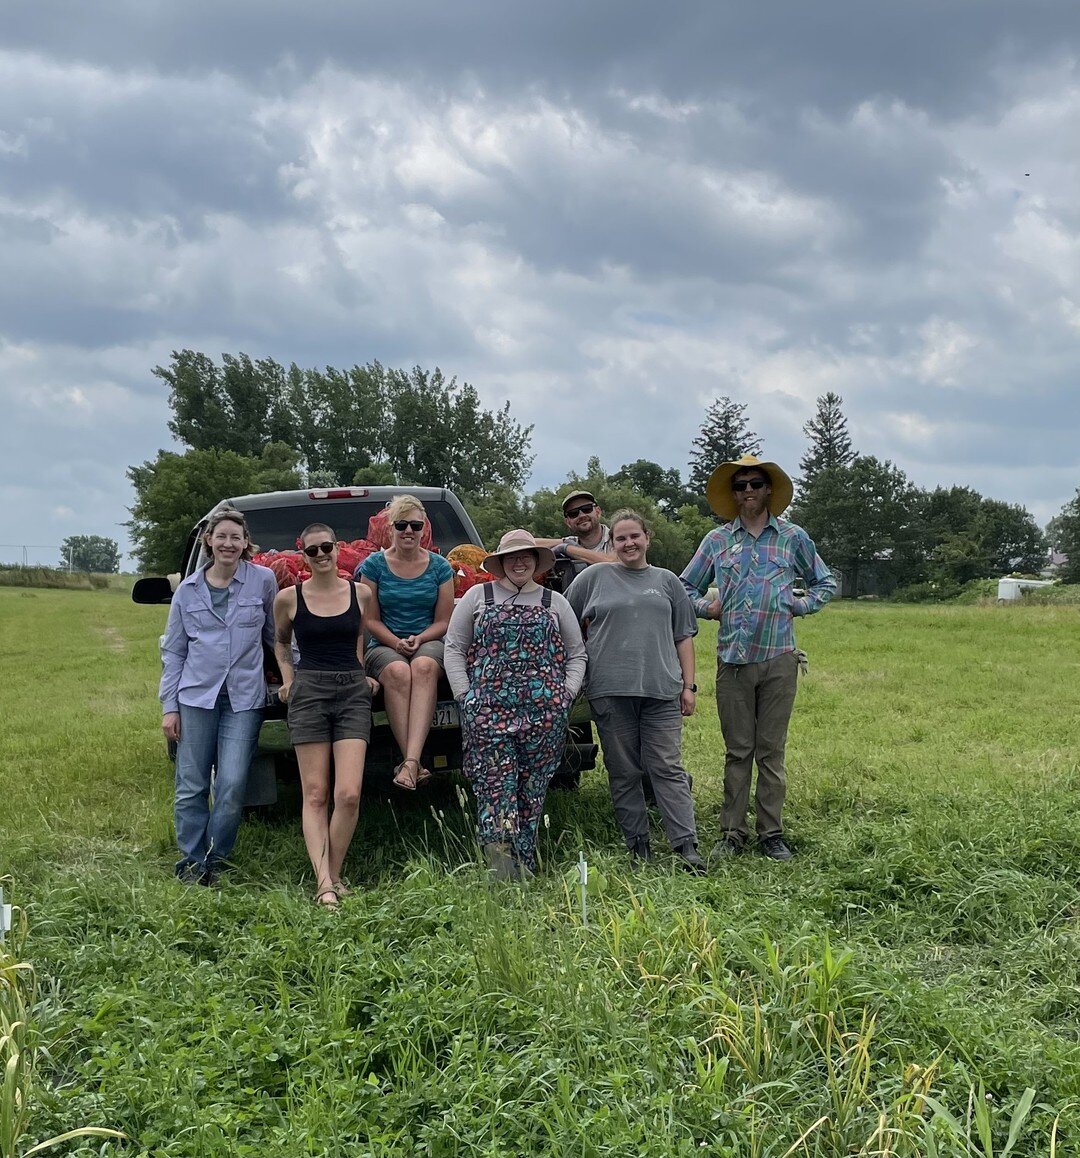
How to Harden Off and Transplant Your Seedlings
/
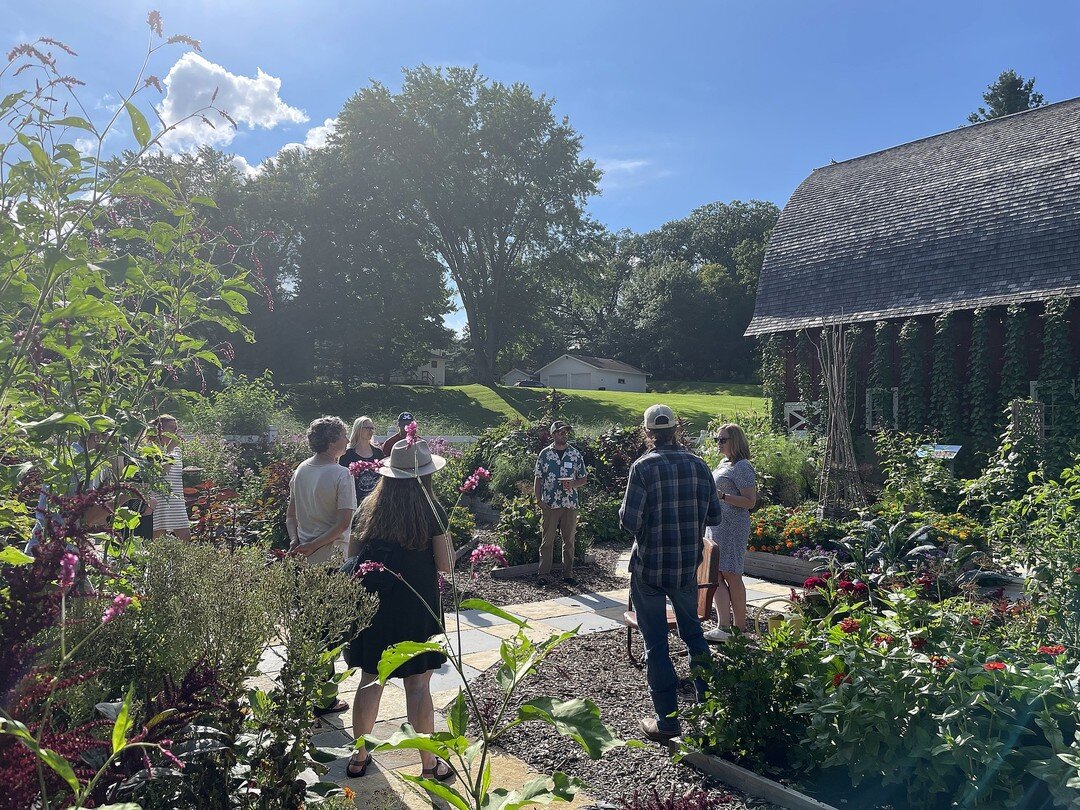
You’ve spent time, energy, and effort nurturing those veggie, herb, and flower starts—and now it’s time to introduce them to the great outdoors. But before you move your seedlings from your home or greenhouse into your garden—or, in gardening lingo, transplant them!—you’ll want to harden them off.
Hardening Off
Hardening off simply means gradually acclimating plants started indoors to the outdoor elements—sunlight, wind, and rain—that they will face for the rest of the growing season. This important step reduces the chance of transplant shock and promotes healthy growth. And while hardening off doesn’t take a lot of time, it does require some vigilance. During this period, your plants are getting sturdier, making them better able to adapt to the vagaries of summer weather.
Outdoor temperatures should reach at least 45 degrees Fahrenheit before you begin the hardening-off process. Why? Warm-season crops like tomatoes and peppers, for example, can be weakened by temperatures that are too cool. (Check the USDA Hardiness Zone Map to get an idea of when you might begin this process in your region.) When hardening off your plants, be sure to follow these steps:
Place your seedlings outside for an hour or two in mid- to late-afternoon, in a spot that will protect them from direct wind and sunlight.
Lengthen outdoor time for your plants bit by bit. Each day, leave your seedlings outside for an hour more than you did the previous one, gradually exposing them to more sunlight and wind until they are able to spend an entire night outside.
Keep the soil moist at all times during the hardening-off period.

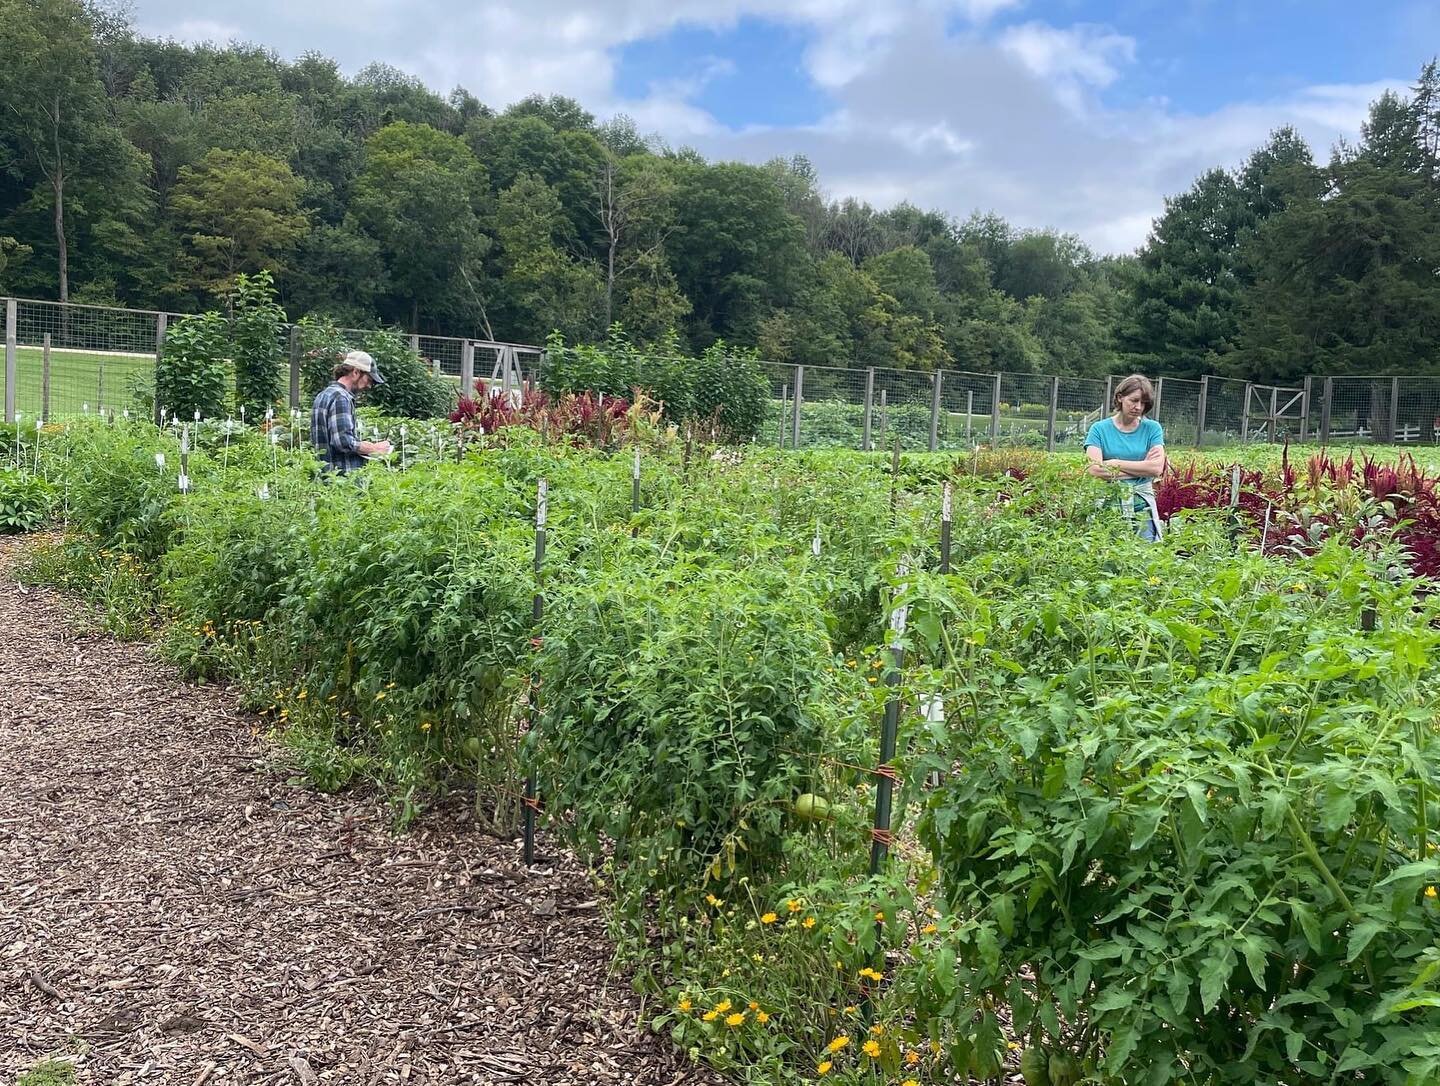
Transplanting
Now that you’ve hardened off your plants, they’re ready to transplant. According to the Old Farmers Almanac, “transplanting” means moving seedlings from pots inside to garden soil outside. When transplanting, be sure to follow these steps:
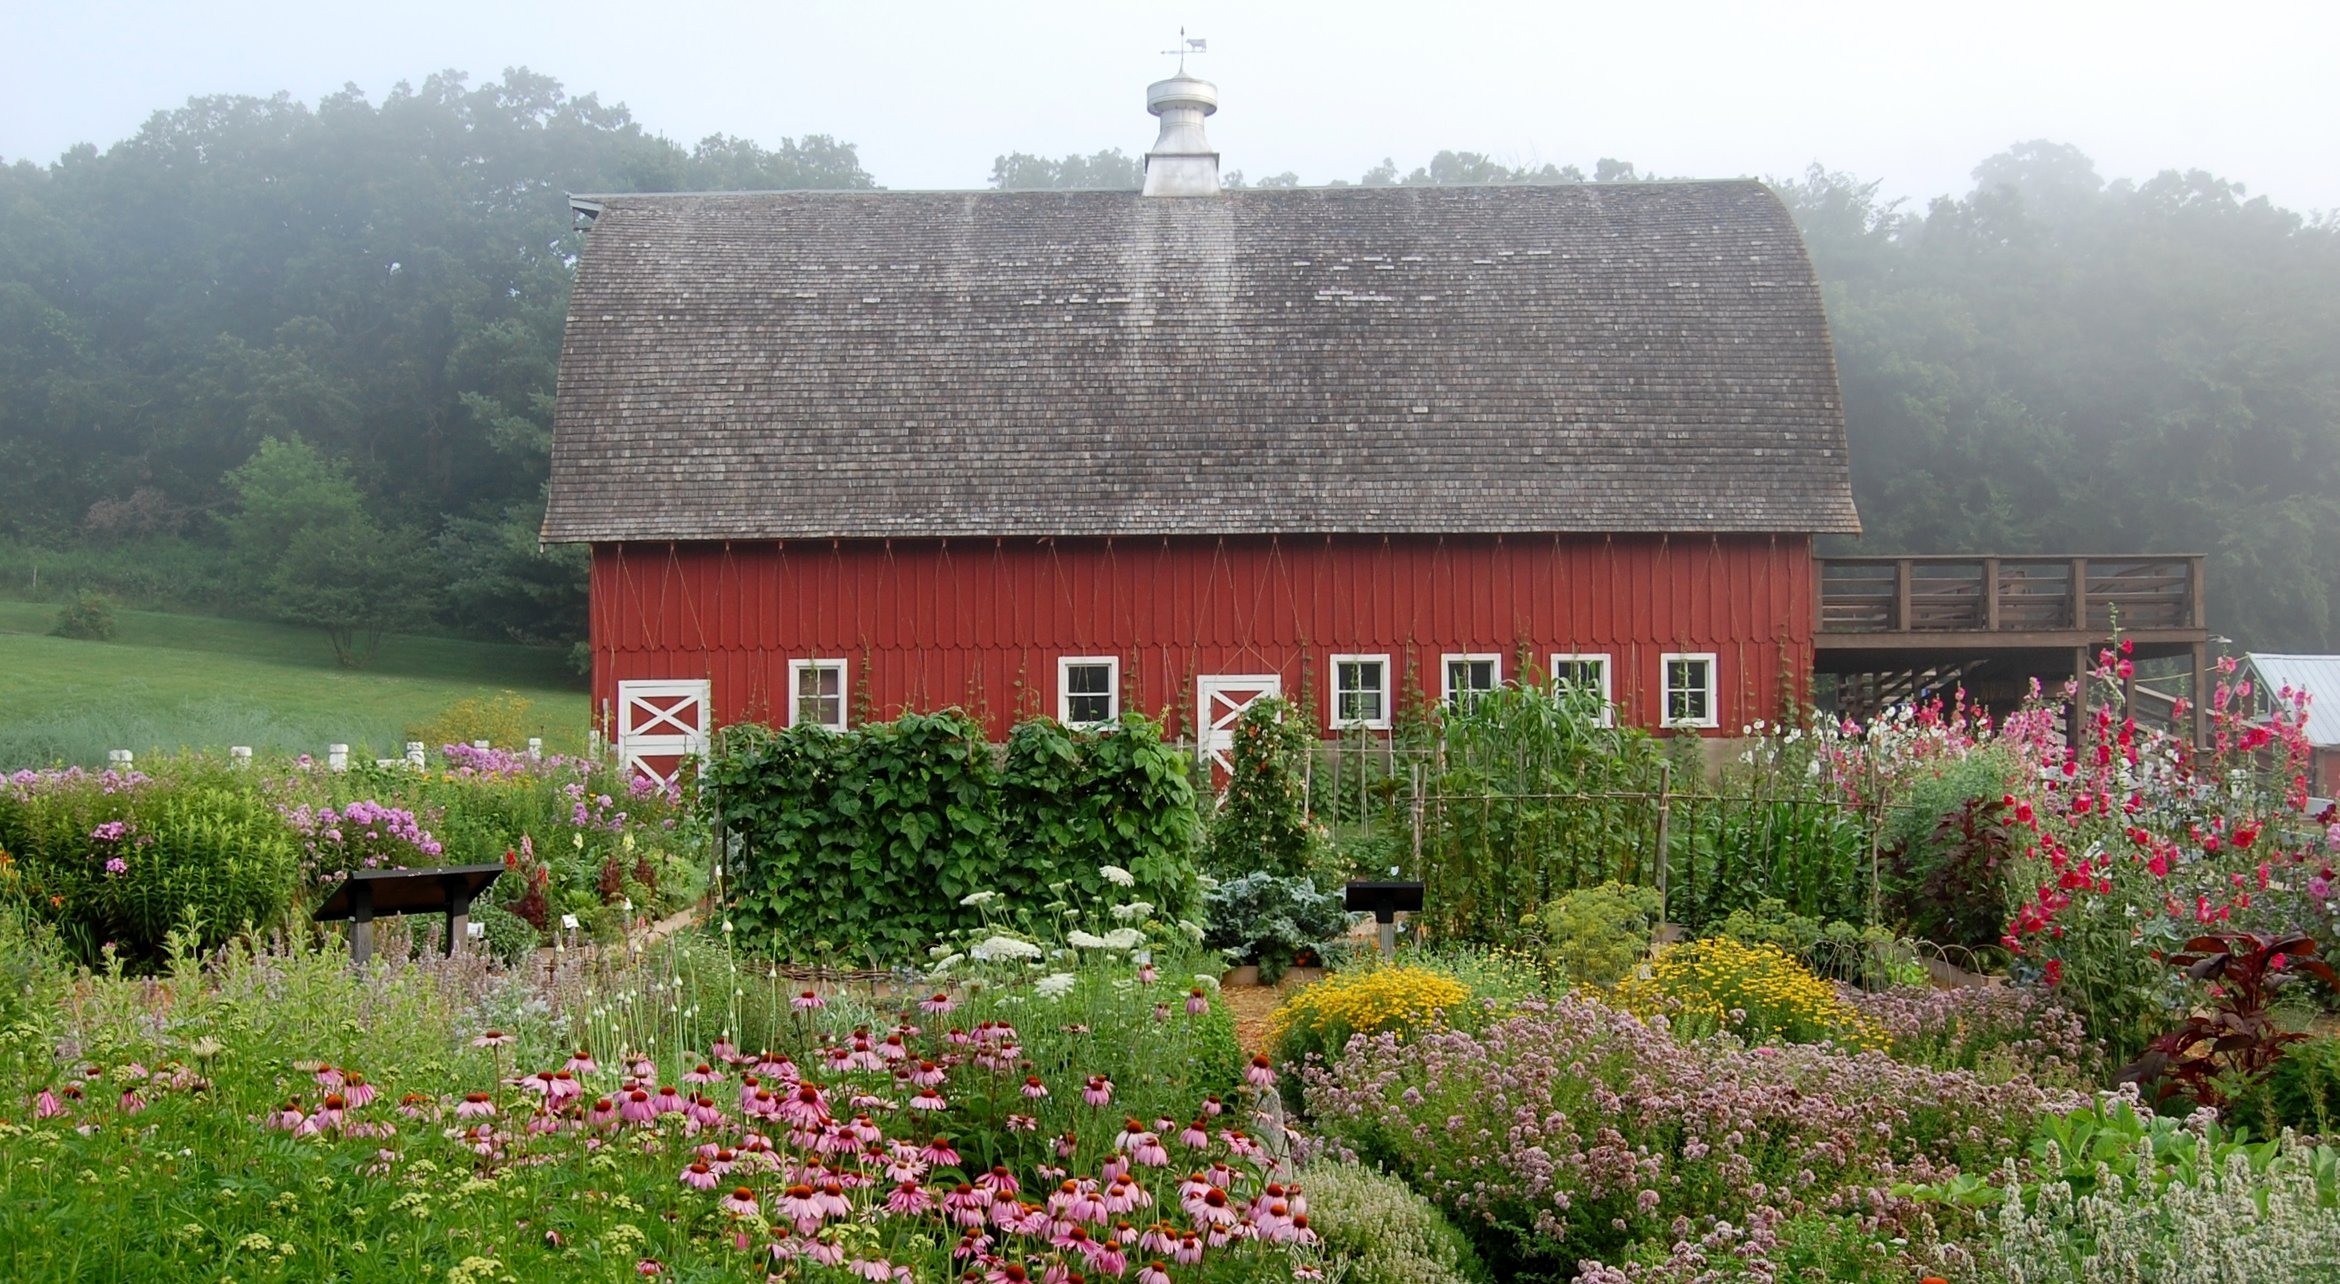
Prep your garden by loosening the soil and removing any rocks and weed roots. Work in compost to enrich the soil.
Choose an overcast day to avoid intense sun, which can stress your seedlings.
Check your garden soil. It should be moist but not soaking wet.
Dig a hole that’s a bit bigger than the plant’s root ball and gently loosen the roots before setting the plant into the hole. This helps encourage the development of strong roots.
Place the plant into the hole at about the same depth that it grew in its pot, being sure to cover its roots with soil. Tamp down the soil gently but firmly. If your climate is very dry, spread mulch around the seedling to inhibit moisture loss.
Check on your plants regularly and be sure to keep the soil moist while they are getting established in their new home.
Keep in mind that the key to moving your seedlings successfully into the great outdoors is taking your time. Don’t rush the process, and soon enough you will be reaping the rewards of a beautiful and bountiful garden.
Click “Learn More” to explore more of Seed Savers Exchange’s growing guides, crop-by-crop, and plant care resources.