Indoor Seed Starting 101
/There may still be snow on the ground in parts of the country, but as those much-longed-for seeds for the new season arrive in the mail, the thoughts of enthusiastic gardeners and seed savers everywhere inevitably drift to spring and the annual rite of starting seeds indoors.
While it may be a while before you can direct sow seeds in many USDA Plant Hardiness Zones, the time to start seeds indoors is, in many places, right around the corner. So go ahead and envision the fun of tearing open those seed packets, getting your hands dirty with potting mix, and witnessing those first baby shoots tentatively emerging from the seeds you start indoors even as the earth outside begins to contemplate awakening from its winter sleep.
There are many compelling reasons to start seeds indoors, but a few sprout to the top. It’s a great way to grow long-season crops in cool climates. It creates an opportunity to harvest fruits earlier. And did we mention it’s fun? Yes, it’s downright exciting to awaken in the morning—or come home from work at night—to see which seedlings have emerged from their potting medium and await your tender loving care.
To clarify, some crops—including beets, carrots, garlic, onion, peas, and radishes—do best directly sown into the ground. Others, like poppies and cosmos, are self-seeding annuals that do all of the work themselves. It’s the last set of crops—like tomatoes, peppers, broccoli, celery, cabbage, cauliflower, onions, and eggplant—that need a longer growing season and may well benefit from being started indoors and then transplanted out to your garden once the soil has warmed appropriately. Following are a few tips to make 2022 your best year for seed starting yet.
TIMING
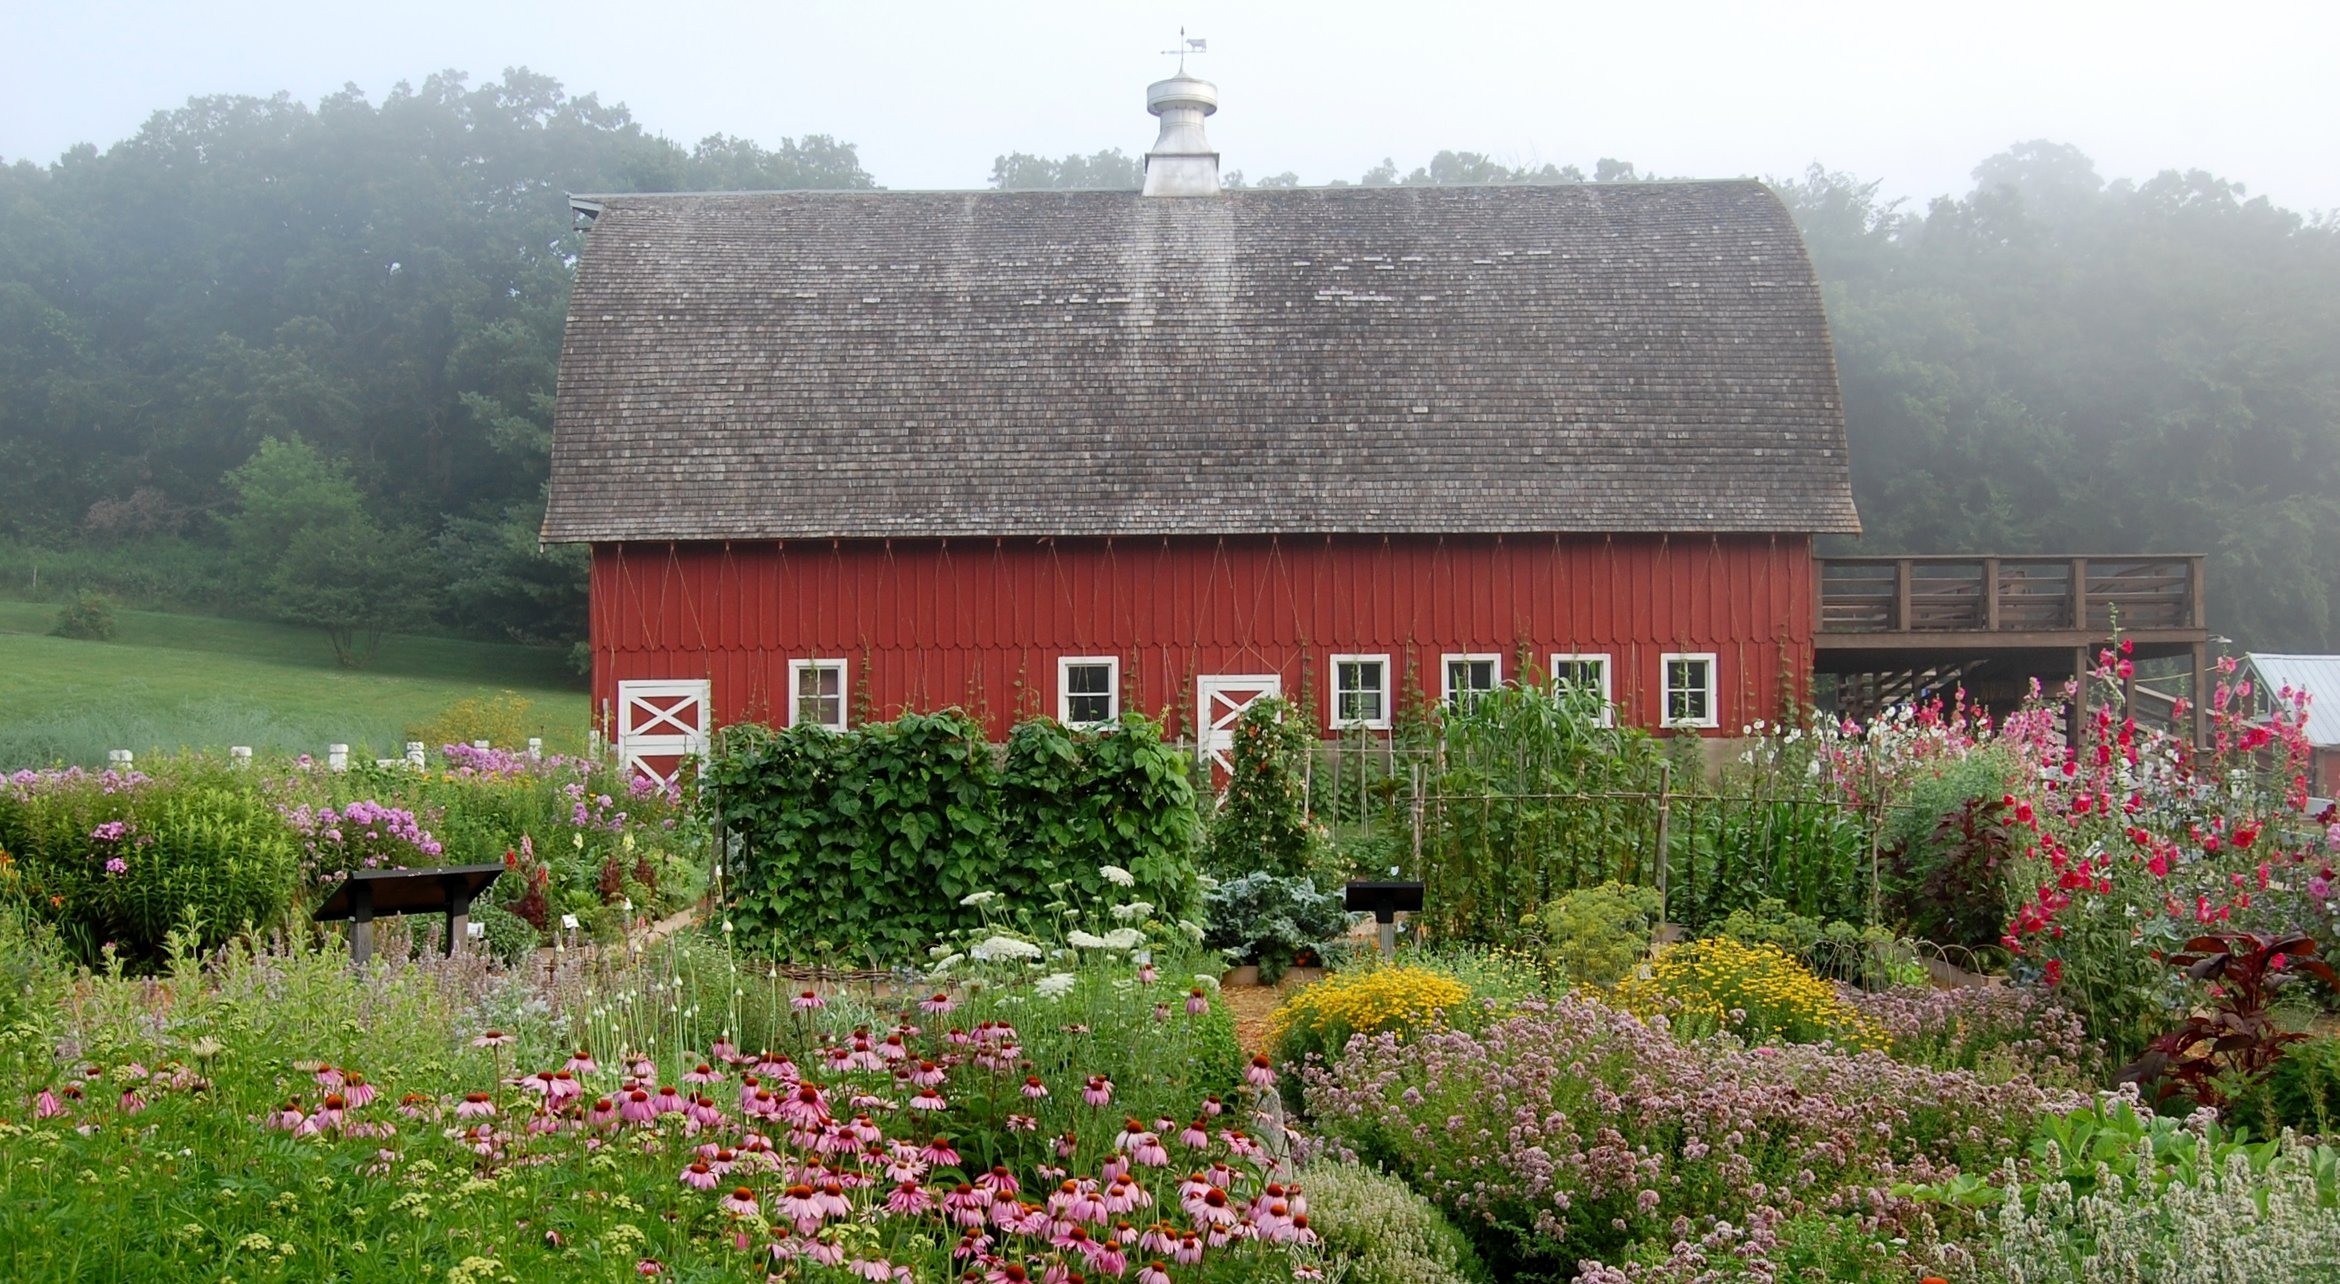
First things first—you need to know when to start your seeds indoors. The general rule of thumb is to sow your seeds indoors about six to eight weeks before the last frost in your area. For example, The Old Farmer’s Almanac lists May 4 as the anticipated last frost date in Northeast Iowa (home to our Heritage Farm headquarters). Back that date up six to eight weeks, and you’re looking at starting seeds for some crops in March in Decorah. You’ll want to use that same formula for other regions of the country; for example, the indoor seed-starting date for folks in much-warmer Los Angeles is as early as January.
CONTAINER
There’s really only one rule when it comes to choosing a container in which to start seeds—make sure that it has holes in the bottom to facilitate drainage. Be creative—egg cartons work, as do raspberry clamshells. It’s just a container to hold the plants and give them some structure so their roots can grow until you get them out to the garden. An additional tip? When setting up your seed-starting area, put your containers in a shallow tray because you may want to bottom water them once the seedlings send out roots.
SOIL
How important is soil to ensuring high germination rates and strong seedlings? Very. Roots need oxygen as well as water so the potting medium needs to be fairly loose as well as able to both retain moisture and drain. That soil, however, need not be a specific seed-starting mix as seeds contain everything they need to sprout so they don’t need soil dense with nutrition. When those seedlings sprout up and it’s time to “pot up” (or transplant) them, that’s when you’ll want to consider adding fertilizer. If your plants don’t have enough nutrition, they become more susceptible to disease and pest infestations.
SEED DEPTH
Easy does it when it comes to the depth at which you sow your seeds: Be sure to follow the recommendations on the back of the seed packet, and don’t bury your seeds in excess soil. Especially if it is a smaller seed, it will have to struggle that much more to get to the surface. Most seeds need to be planted only as deep as they are long.
WATERING
The importance of giving your seeds the right amount of water cannot be overstated. Give your seeds too much, and they will drown or rot; give them too little, and they will either fail to germinate or die once they do. So how much is the right amount? That can be tough to determine because it depends on several factors, including where those seeds are germinating, what media they’re in, and what their stage of growth is. In general, however, you want to make sure the soil remains moist (not wet) and does not dry out. Once your seedlings emerge, if you have a small number of plants, consider bottom-watering them—or letting the soil take up water through holes in the bottom of your containers.
WARMTH AND LIGHT
While most seeds don’t require light for germination, keeping your soil appropriately warm (check growing guides for the recommended temperature range for the crop(s) you are starting) with bottom heat until the seedlings emerge is key. Bottom heat is an efficient way to put heat in the soil where those seeds are germinating.
The trick is to keep the soil uniformly moist and warm until seedlings emerge, which is why most seed-starting kits include a plastic dome that fits on top. Don’t have a seed-starting kit? Covering your containers in plastic cling wrap will work just as well. Be sure, however, to remove the plastic or dome as soon as the seedlings emerge from the soil and move your seedlings to a good light source. If you have a south window, that may well provide enough light. Otherwise, use grow lights—but those lights have to be pretty much right on the seedlings, almost touching them. Remember to move the lights up as the plants grow, and be sure to turn them off for six to eight hours a day so plants have some “nighttime” too.
THINNING
Yes, it may be tough to pull out some of those seedlings you just labored to grow. But if there are too many seedlings, too close, they will compete with one another and cause lanky, weak plants. Cutting the weaker ones out will help with spacing and airflow and keep the stronger plants healthy.
Remember, seeds want to grow! Follow these tips and within just a few short weeks, your seedlings will be ready to join the great outdoors.


