Lucina's Miniature Stuffed Peppers

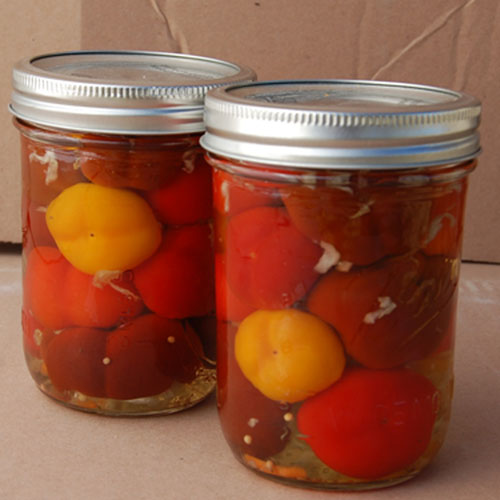
jlb_LucinaCressPickledPeppers_Diane-14.jpg

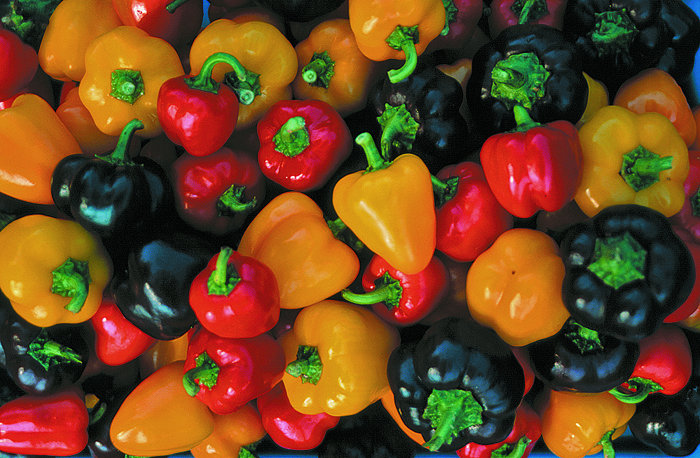
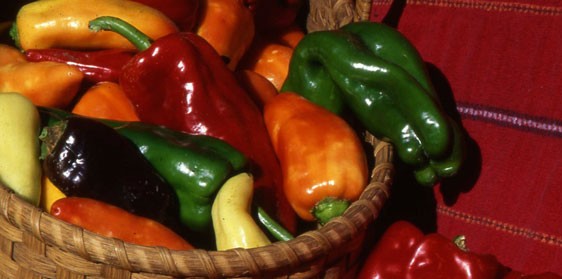
Miniature Bell Peppers

SSE member Lucina Cress once told Diane Ott Whealy, "An elderly lady grew these peppers in Ohio and passed them on to me. The chocolate is still my favorite, always so mild and sweet and all the plants would produce early and kept coming on till frost." Lucina had been making the stuffed peppers for more than a decade. "I think I first listed the pepper seed in the 1981 Seed Savers Exchange [Yearbook]. I always offered to send the recipe for stuffing and canning with the pepper seed. Each year our branch of the hospital auxiliary stuffed miniature peppers for the hospital bazaar. We canned over seven hundred jars some years and we were sold out by 11 a.m."

Lucina's recipe for her Miniature Stuffed Peppers:

Pickled Mini Bell Peppers

Shred cabbage fine (SSE staff recommend the 'Early Jersey Wakefield cabbage'). For each 3 quarts of cabbage, add 2 1/2 teaspoons salt and let stand for 20 minutes.

While the cabbage is soaking, wash enough of Lucina's Miniature Bell peppers of all colors to make 15 pints. Cut a small opening on top and take out the seeds. (I always save the seeds to offer in the Yearbook and hope everyone else does too!)

Squeeze the liquid off cabbage and discard.

Add to cabbage:

  • 1 1/2 teaspoons celery seed
  • 1 1/2 teaspoons mustard seed
  • 2/3 cup vinegar
  • 2/3 cup sugar

Mix cabbage and stuff inside the peppers. Place in jars. Boil together:

  • 4 cups sugar
  • 4 cups white vinegar
  • 2 cups water

Pour over peppers in jars and seal. Process in hot water bath for 15 minutes.

Order seeds for Miniature Chocolate, Miniature Red, and Miniature Yellow Bell Peppers in our online store!

Taken from SSE co-founder Diane Ott Whealy's new book, Gathering: Memoir of a Seed Saver.

Our mission is to conserve and promote America’s culturally diverse but endangered food crop heritage for future generations by collecting, growing, and sharing heirloom seeds and plants. www.seedsavers.org

How to Save Heirloom Tomato Seeds

How to Save Heirloom Tomato Seeds

Heirloom tomatoes are the highlight of summer—beautiful colors and bountiful flavors! Preserve the bounty for next year by saving seed of your favorite tomato varieties. You only need a few fruit to get started, so watch the slideshow below and learn how. By doing so you'll carry on a gardening tradition that is many generations old.

Read More

Everything You Need to Know About Radishes

jlb_6.15-15.jpg

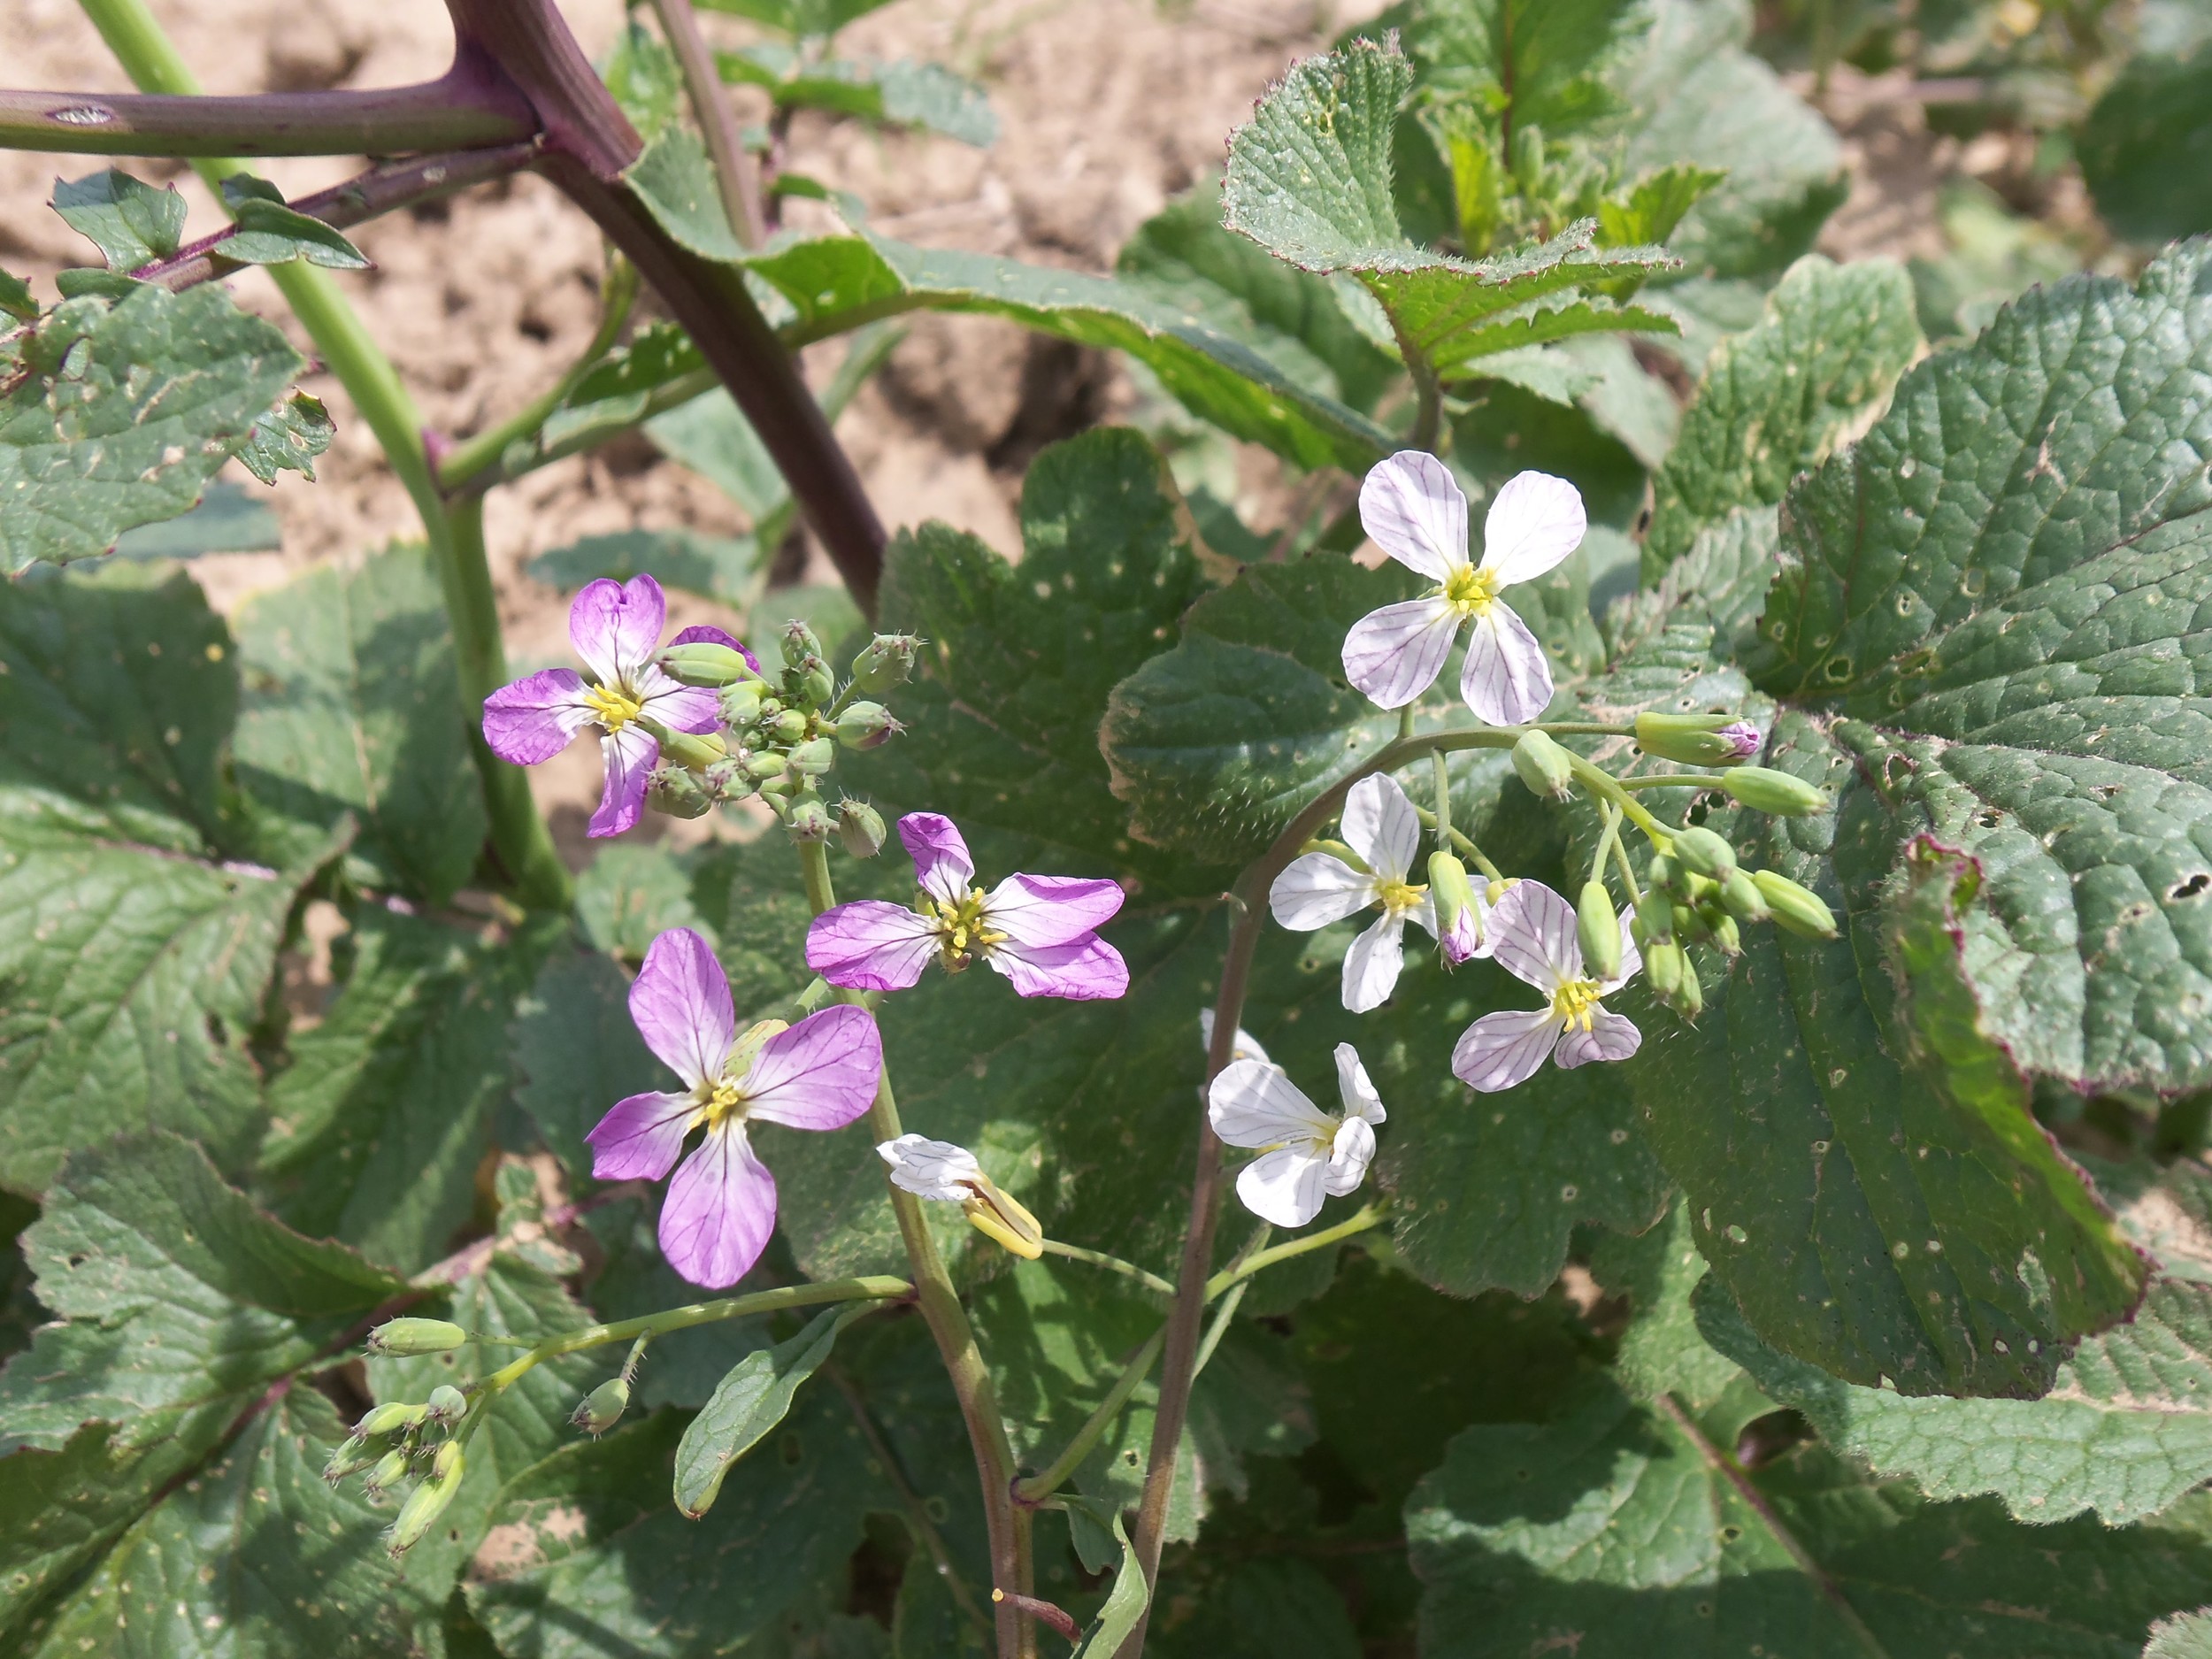
Flowering Radishes at Heritage Farm

The radishes at Heritage Farm are in full bloom! Our flowering beauties may no longer be edible, but they are well on their way to producing seed. Luckily, most radishes grow quickly and will produce seed in one season.

Cool Radishes Radishes are wonderfully diverse with many different colors, shapes and sizes! Spring and summer varieties can be pink, red, white, golden, or purple. They can be shaped like bulbs, be more elongated like fingers, or even taper like carrots. Winter varieties are much larger, often black, and need a longer growing season to mature. Daikon radishes, an Oriental winter type, have long white roots prized for their crisp and tender flesh. Some radishes, such as the Rat-Tailed radish, are grown for their edible seed pods rather than their roots. The entire seed pod is edible, and has a lighter radish bite. Who knew?

This season, we grew a very special radish in the Diversity Garden named 'Colony Summerrettig'. Charles Hoehnle of Homestead, Iowa donated the seed of this variety in 1995. It originated from the Amana Colonies of central Iowa, which were settled in 1856 by a group of German Pietists. These settlers lived a self-sufficient communal life until the mid-1930s. This radish was grown in the colony gardens, prized for its purple roots and ability to reseed for a fall crop. Our planting in the Diversity Garden grew to be quite big before flowering!

How to Grow Radishes Not only are radishes easy and quick to grow, but you can plant them all season long. Direct seed radishes 1" apart and 1/2" deep as soon as the soil can be worked in the spring. Rows should be 12" apart for proper root development. When seedlings are about 1" tall, thin to 2-3" apart. Most radishes are ready to eat when their root tops peak out of the soil. Plant successively every 2-3 weeks for a constant supply of radishes.

How to Eat Radishes Radishes have a spicy bite that makes a wonderful addition to salads and veggie platters. If you're looking for something different, try sweet and sour radish pickles! Put sliced radishes in a jar with green onions or garlic, and enough vinegar, sugar, and oil to cover. Store in the refrigerator for up to eight hours, making sure to shake the jar every so often. When chilled, you'll have a tangy treat to enjoy that cuts some of the radish bite but packs a bunch of flavor!

How to Save Radish Seed Most radish varieties are annuals that will flower and produce seed within one growing season. They are insect-pollinated out-breeders, meaning they will cross with any and all varieties of wild and domesticated varieties. Varieties should be separated by 1/2 mile or more to prevent cross-pollination. If distance or isolation is not possible in your own garden plant a single variety, and be aware if neighboring gardens have different radish varieties flowering at the same time.

Because radishes require that pollen be transferred from one plant to another for successful pollination, a fairly large population size is best for good seed production. Seed pods will develop on the large flower stalks (up to 3′) and tan as the seed matures and plant begins to dry. Harvest the seed stalks when all parts are fully dry. Seeds are tricky to remove from dried seed pods and may require a bit of force.

rad0317seed_11_01

Let us know what your radishes look like this season! If you're looking for something different, check out the Seed Savers Exchange collection of radishes in the online catalog. Happy gardening!

Webinar: Planning Your Garden for Seed Saving

isolation_garden.jpg

This month's SSE webinar episode will highlight best practices for planning a garden for seed saving. Learn the difference between open-pollinated and hybrid seed and gain an understanding of plant taxonomy, reproductive structures and pollination methods. View the archived recording of this webinar below.

Part 1

[youtube]http://www.youtube.com/watch?v=C4BBByHROhg[/youtube]

Part 2

[youtube]http://www.youtube.com/watch?v=yBeleZmEyt8[/youtube]

Part 3

[youtube]http://www.youtube.com/watch?v=dVGfQDWViuk[/youtube]


Click here for information about SSE's seed donation program

Webinar: How to use the SSE Yearbook

YB2012_renewal-e1334520449738.png

The Seed Savers Exchange Yearbook  is one of the greatest sources of heirloom varieties in the world. This member-to-member exchange offer over 12,000 unique varieties! The Yearbook is also a meeting place where gardeners share varietal-specific growing tips and stories. In this webinar, you'll learn how search, select and request varieties from both the online and print versions of the SSE Yearbook.

View the archived recording of this webinar below.

How to use the Seed Savers Exchange Yearbook

Part 1

[youtube]http://www.youtube.com/watch?v=uGU1nf3dTkg&feature=youtu.be[/youtube]

Part 2

[youtube]http://www.youtube.com/watch?v=8T0tgPA7MtQ&feature=youtu.be[/youtube]

Part 3

[youtube]http://www.youtube.com/watch?v=Gu5gvG3Byio&feature=youtu.be[/youtube]

Webinar: Welcome to Seed Savers Exchange

hands.planting_sm.jpg

Learn about the history, work and latest projects of Seed Savers Exchange (SSE) from co-founder Diane Ott Whealy. View the archived recording of this webinar below.

Part 1

[youtube]http://www.youtube.com/watch?v=cafJHIDdROI&context=C4fe3a97ADvjVQa1PpcFOB3e9BMtgHncqoPFbjnnHkw9D0yZFXtyA=[/youtube]

Part 2

[youtube]http://www.youtube.com/watch?v=qD24vnIfAlw&context=C4006626ADvjVQa1PpcFOB3e9BMtgHneUptJrj-hZ8lCIpswK2X0A=[/youtube]

Where to start: How about peppers? How about today?

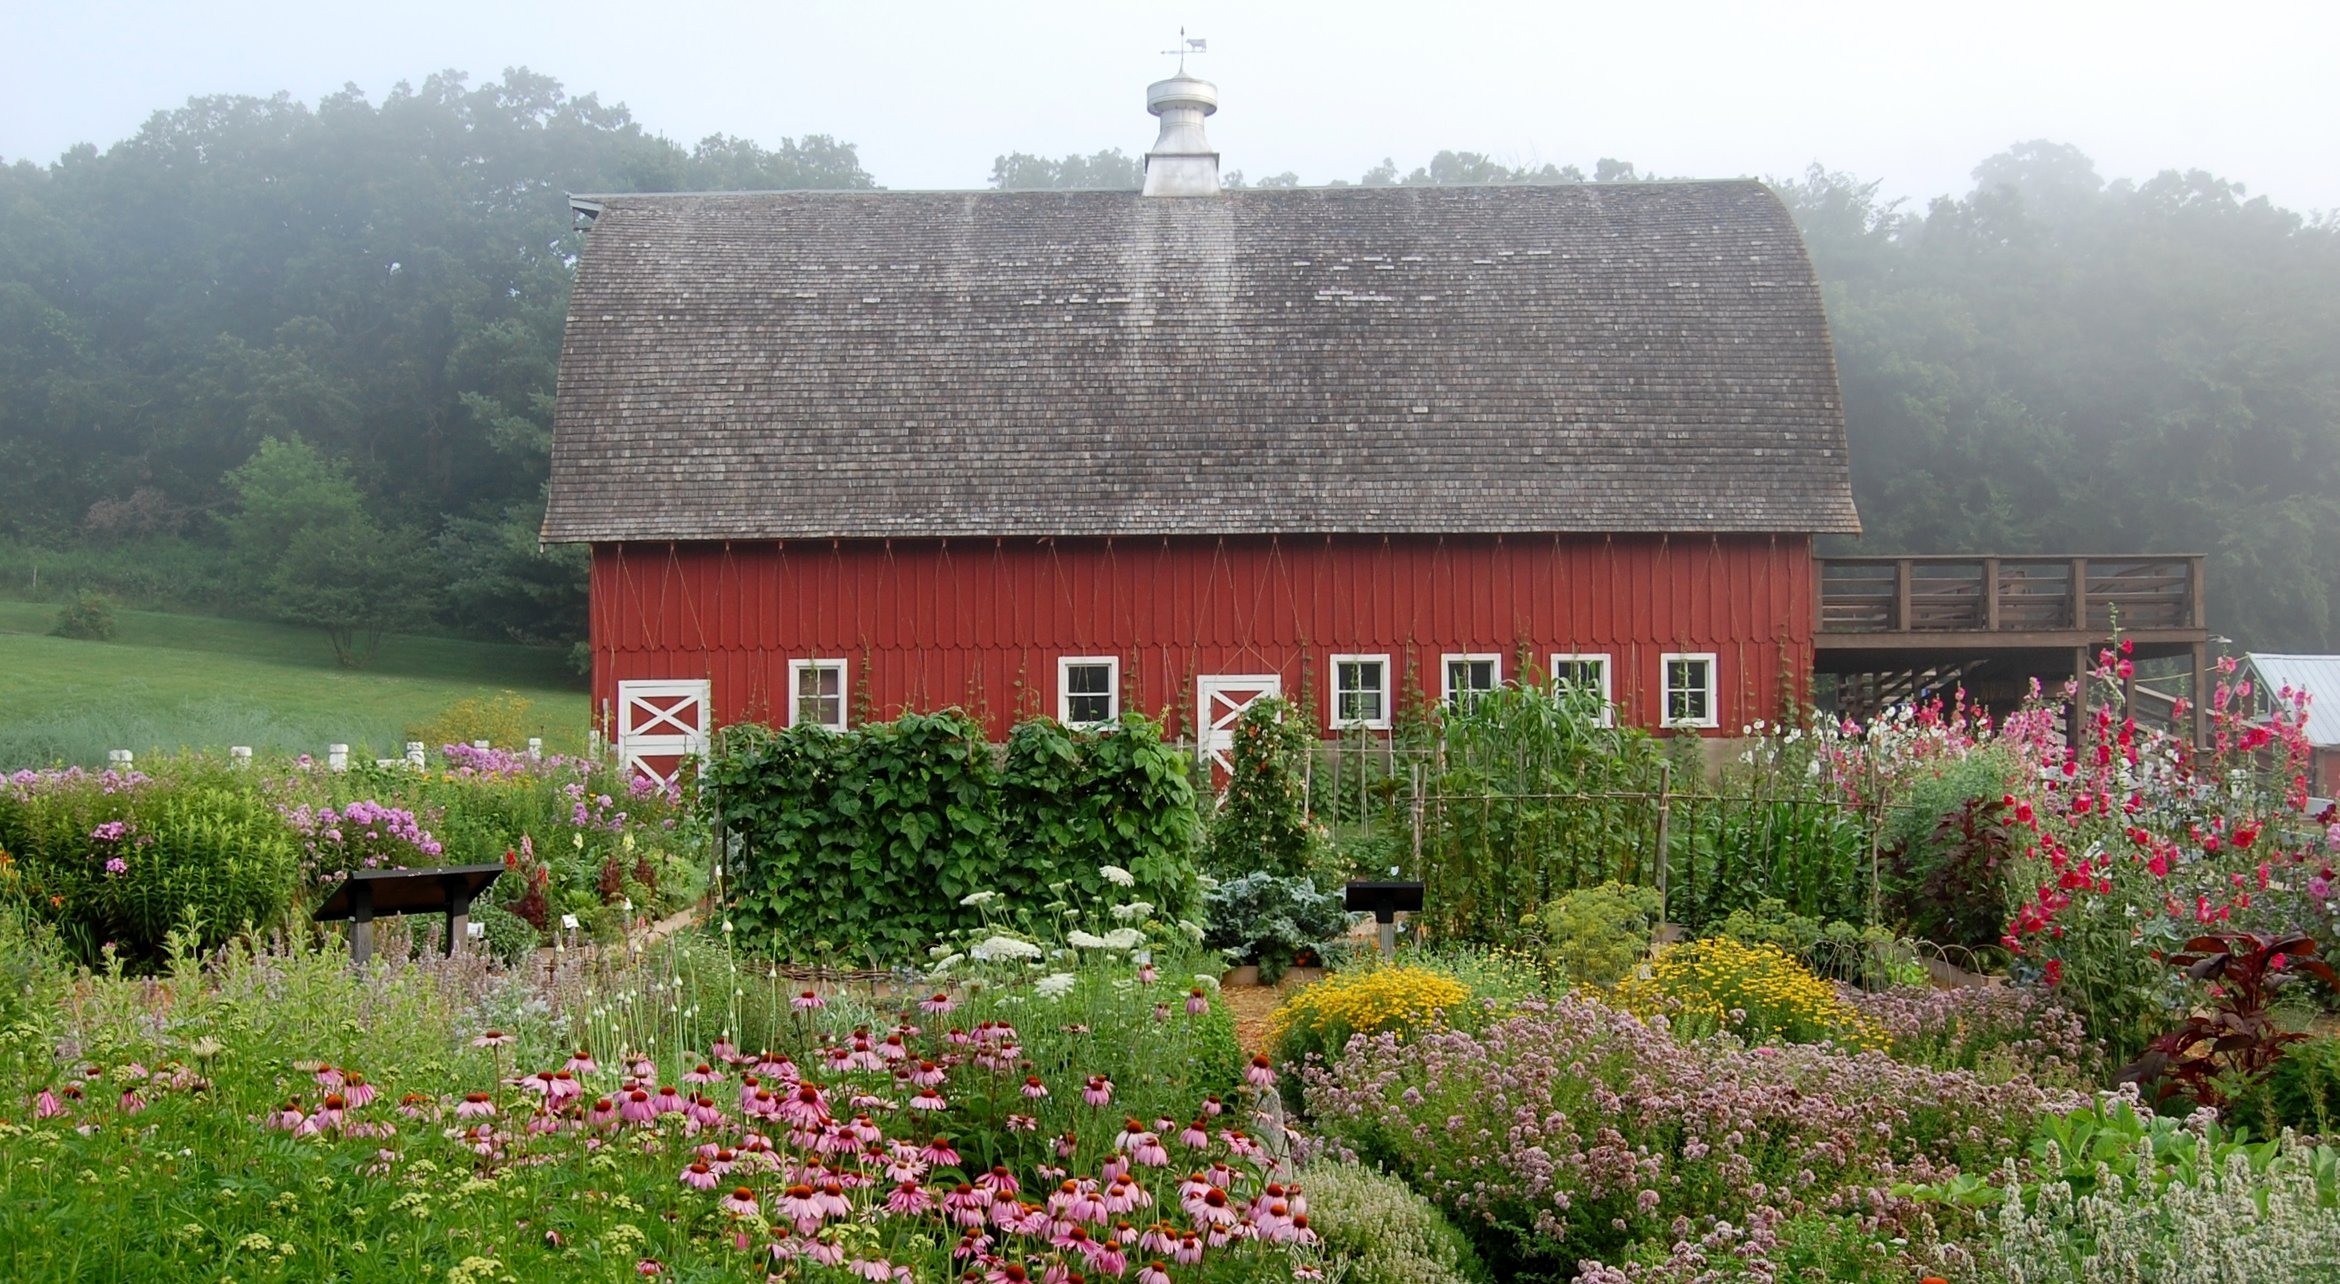
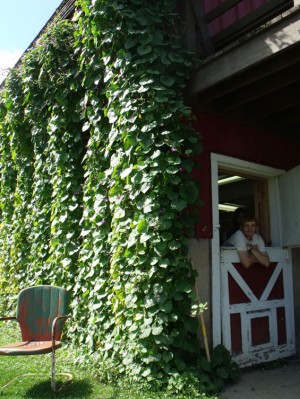
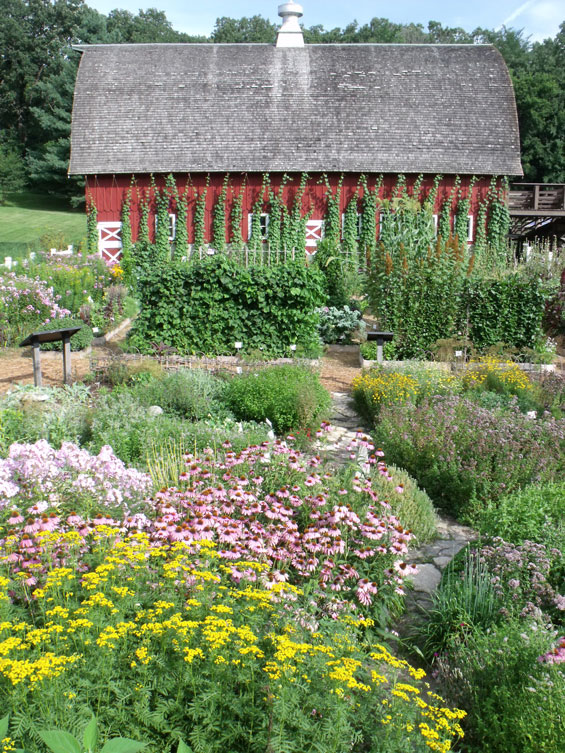
‘Grandpa Ott’s’ morning glories cover the south face of the iconic barn behind the Lillian Goldman Visitors Center at Seed Savers Exchange. But don’t be fooled by the scenery, this barn is much more than pretty postcard scenery—especially come harvest time!

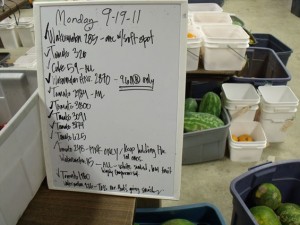
Behind that wall of sleepy morning glories lies one of the busiest seed saving operations in the country—the first hint of which is the unmistakable sweet aroma of ripe melons drifting from the open double doors. Colorful piles of ripe fruits and veggies sit waiting in buckets while fans blow gently over screens of tiny seeds on drying racks. The colors, smells and sounds are almost as overwhelming as the neatly printed to-do list on the staff white board.

But of course it hasn’t always been like this. SSE’s seed saving operation started in a kitchen, probably much like your own, more than 36 years ago. That’s where we started and that’s where the seed saving renaissance is taking place today! If you’re reading this blog, it means that you’re part of this movement—or at least you could be. You can start saving your own seeds yet this season—today in fact!

Getting Started You don’t need any special tools or equipment to start saving pepper seed. Saving pepper seeds also gives us a chance to review some essential seed saving info on pollination.

Unlike hybrids seeds, seeds from open-pollinated and non-hybrid plants can be saved and replanted to produce plants that retain most of the characteristics of the parent. This means that if you’re growing some heirloom peppers from SSE, you don’t have to buy the same seeds from us next year. In fact, if you learn how to prevent cross-pollination and save the seed properly, you’ll never have to buy that seed again. But let’s not get too ahead of ourselves here!

One thing to know right away is that, while peppers can pollinate themselves, insect pollination is also very common. This means that if you have more than one variety of pepper in your garden— open-pollinated or hybrids—there’s a good chance the seeds you save will be crossed. You can still save the seeds, but the plants will probably be different from the parent.

By using isolating techniques, which we’ll cover in later posts, or only planting one variety of pepper in your garden, you can be more confident that the seeds you save will be true-to-type (i.e. produce the same plant as the parent). Here’s how:

Saving Pepper Seeds Cut open and remove the core from a fully mature pepper. You’ll know it’s mature because it has changed to its final color. To find out what color your peppers should be when mature, see the description on its seed packet or on our website. Rub the seeds onto a paper plate and set them out to dry away from direct sunlight until they are paper-dry.

If you’re handling hot peppers, you’ll want to use rubber gloves. Also, make sure you’re in a well-ventilated room to avoid respiratory problems.

If you’re trying to save seeds from very small peppers, try using a blender. Cut out the stems and blend the peppers with a little water at low speeds. The flesh and immature seeds will float to the surface and can be removed. Add a little more water and repeat until the seeds are clean. Drain the remaining mixture with a strainer before setting them out to dry (coffee filters work well).

Put the dry seeds in a paper envelope labeled with the seed variety and the year, and store in a cool, dry, mouse-proof area. This will help ensure that your seeds dry properly and stay that way. If you’re confident that your seeds are totally dry but not confident that you can keep them that way (i.e. your storage area might experience increased humidity in the summer months), you might consider storing the envelope in a mason jar. Adding silica gel to the jar will help take care of extra moisture that would otherwise rot your seeds.

You’ll know you did everything right when you’re harvesting a beautiful pepper of the same variety next season. And if you get something different, you’ll still learn a lot in the process. Like any adventure, the hardest part is simply getting started!

Give seed saving a try this season with peppers or tomatoes and let us know how it goes by leaving a comment below. You can also find more seed saving tips on the SSE forum.

Thanks to SSE staff member Colin Curwen-McAdams, advisor Suzanne Ashworth, and board members David Cavagnaro and Rosalind Creasy for their contributions to this article.


The results are in!

Dester.jpg

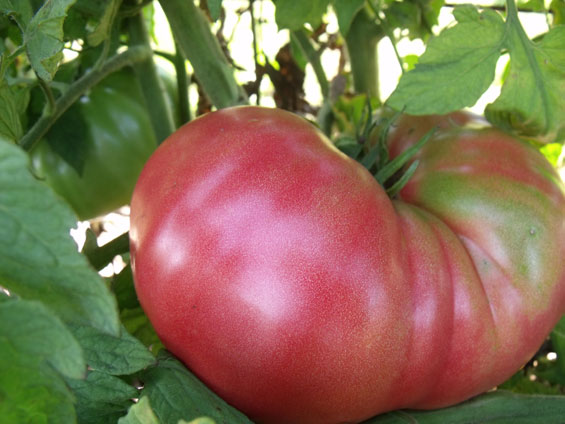
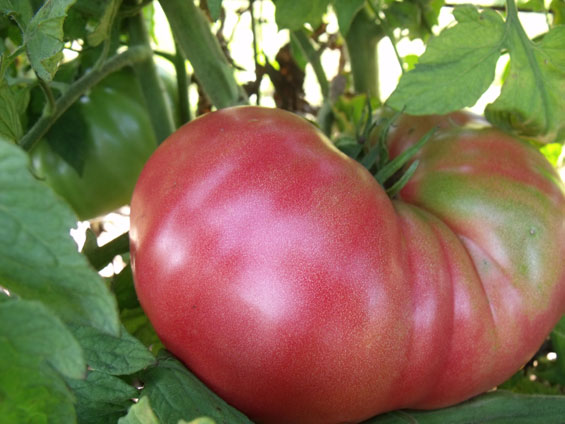
The ‘Dester’ took home the blue ribbon at the 6th Annual Tomato Tasting and Seed Saving Workshop at Heritage Farm last weekend. With over 40 varieties in the lineup, the competition was steep for this year’s unlikely winner.

The ‘ Dester’ tomato was something of a Cinderella story from the SSE trial gardens. Every year our commercial crew grows out a number of new varieties from the collection or from member-growers to discover new offerings for the SSE catalog. This year a champion was born! The ‘Dester’ is a large, full-flavored, pink beefsteak tomato. It was the first tomato on the sampling line, yet the flavor stuck in visitors’ minds when it came time to cast their vote—more than 40 tomato samples later.

Other top finishers included last year’s favorite, ‘Lemon Drop,’ a small yellow-green cherry tomato with a sweet—almost tart—flavor, and ‘Black Sea Man,’ a Russian heirloom with brownish-pink fruit and full-bodied or “complete” flavor, as one participant put it. The salsa tasting line featured 14 homemade recipes. Ironically, the blue ribbon went to Anne Sheahan’s Mango Salsa, proving the eclectic pallets of this year’s voters. (We’ll try to get the heirloom tomato version of the recipe for next year!)

Visitors passed through the display gardens snapping pictures of the towering, 10-foot-tall ‘Hot Biscuits’ amaranth, and the barn wall completely covered in ‘Grandpa Ott’s’ morning glory on their way to seed saving workshops.

SSE tomato advisor Craig LeHoullier was back by popular demand to provide a personal and passionate introduction to the cult of the heirloom tomato, including a list of the tomatoes he would choose to be stranded with on a desert island. (In case you’re wondering, or planning for a "three-hour tour," his list included ‘Cherokee Purple,’ ‘Lucky Cross,’ and ‘Cherokee Chocolate’.)

Craig’s talk was followed by a lively question and answer session, which gave him a chance to show off his encyclopedic knowledge of heirloom tomatoes and their histories. He even managed to dispel a few myths before breaking for a trip through the tomato tasting line. (Don’t believe the hype, says LeHoullier there’s no such thing as a low-acid or disease-resistant tomato!)

“The joy of gardening is that there are no absolutes,” said LeHoullier before prompting the crowd for their favorite qualities of heirloom tomatoes.

Meanwhile SSE staff led a hands-on workshop on saving tomato seeds.

“One thing I try to remember when saving seed at home is that I don’t need 100 fruit to get started,” said workshop facilitator and SSE Horticultural Technician Gabi Masek. “Two to five is really all you need!”

The workshop covered everything first-time seed savers would need to know to start saving their own seed, including ideas of what to do with extra seeds, like trying a home germination test.

While the adults took notes at the workshops and tasting tables, the kids displayed the fun factor of heirloom tomatoes with a tomato toss and ketchup-making activity led by SSE Display Gardener Grant Olsen.

“I already have a few ideas of how to make the tomatoes a little sloppier for next year’s toss,” said Olsen with a grin.

Whether you were tasting, tossing, or taking notes, we hope everyone walked away from this year’s Tomato Tasting and Seed Saving Workshop with a little inspiration for their own gardens.

 And if you missed the event, here are a few tomato seed saving tips to help you get get started:

In nature, ripe tomatoes fall from the plant and slowly rot exposing the seeds, allowing natural weathering to break down the slimy gelatinous coating on the seed.  This is easily replicated through the process of fermentation.  To save tomato seed, seed savers must deliberately remove the coating from the tomato seed. Here’s how:

  • Take the seeds out of your best looking tomatoes and put them into any container that can hold liquid.  Don’t worry if there is pulp in with the seeds.  Keep as much juice with the seeds as possible.
  • Some seed saving techniques suggest adding water to the mixture.  We recommend not adding water unless the mixture evaporates before it starts fermenting.  This can be done by adding about ½ cup of non-chlorinated water to 1 cup of tomato seed and pulp.
  • Fermentation should happen in 24 hours-4 days.  This depends on many variables such as air temperature or how ripe the fruit is.  A layer of white mold may grow across the top.  Once this mixture has fermented continue to the next steps so seeds do not germinate.
  • Think about where to put the tomato seed mixture because inevitably it will smell. You may want to cover your mixture with a mesh screen to keep out fruit flies.
  • After fermenting, add water and stir.  Mature seeds will sink to the bottom.  If the seed is light enough to float, it is probably not fully formed, mature, or viable.  Don’t save these seeds.
  • Pour off pulpy mixture, but not the viable seeds in the bottom of your container.
  • Pour the remaining liquid into a kitchen strainer and wash thoroughly under the faucet until clean.
  • Drain, and then spread the seeds out thinly on surface to dry.  Any substrate to help them dry as quickly as possible will work: coffee filter, paper plates, paper towel, or wax paper.  It is best to dry seeds out of direct sunlight; this could take up to 4 weeks.
  • Store the seeds in an envelope or seed packet and place in a dry, cool location.  You can assess the quality of your storage conditions by adding the room temperature in Fahrenheit plus relative humidity.  Try to keep that number under 100; the lower the number the better the conditions for seed storage.

But don’t forget to follow the most important rule:  Put a label on everything, every step of the way.  Because in the words of our collection curator, “No one wants to plant something, thinking they have one variety and end up with something else.”

Note from a seed saver: Tomatoes will, most commonly, self-pollinate, so seeds saved will remain ‘true to type’ without worrying about cross-pollination.  However, there are always exceptions.  Some tomatoes can cross pollinate, this is dependent on many factors such as flower shape, environment, and biodiversity.  To ensure seed purity you may want to plant only one variety or spread different varieties throughout your garden.